
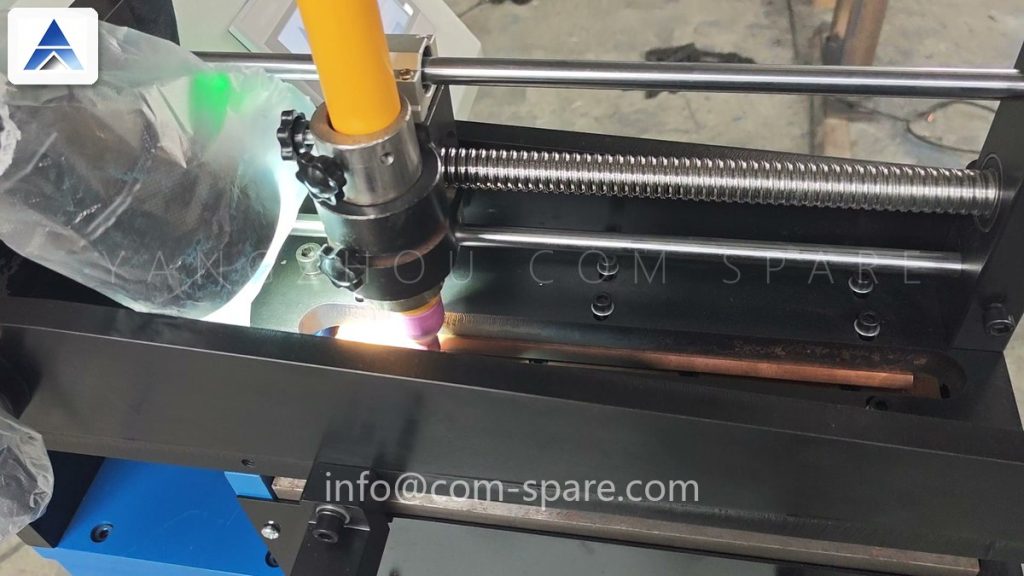
A shear and end welder is the station that lets a tube mill run continuously. Every coil has an end, and every coil change is a place where the line could stop. Instead, the strip head and tail are sheared square, aligned, welded and trimmed — and the mill keeps forming heavy wall tube the whole time the spool beside it does the joining.
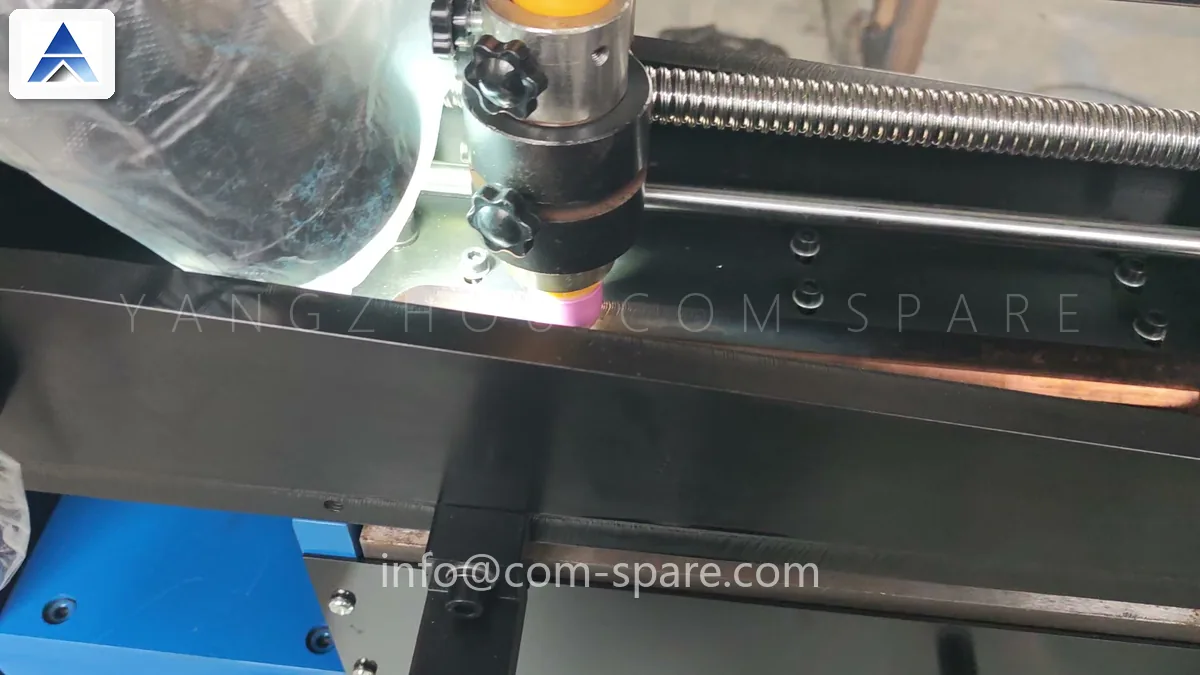
What happens in one joint
- Shear. The tail of the running coil and the head of the new coil are cut square in the same plane. A ragged or slanted cut becomes a weld defect; there is no parameter downstream that fixes it.
- Align. The two strips are brought into line — lateral offset and angular offset both matter. A strip that is 0.5 mm off-centre arrives at the fin passes as a step, and the fin pass cannot remove a step.
- Clamp and weld. Flash butt welding is the usual process on ERW mills: current is passed through the two ends while they are pressed together, and the arcing removes oxides as the ends join.
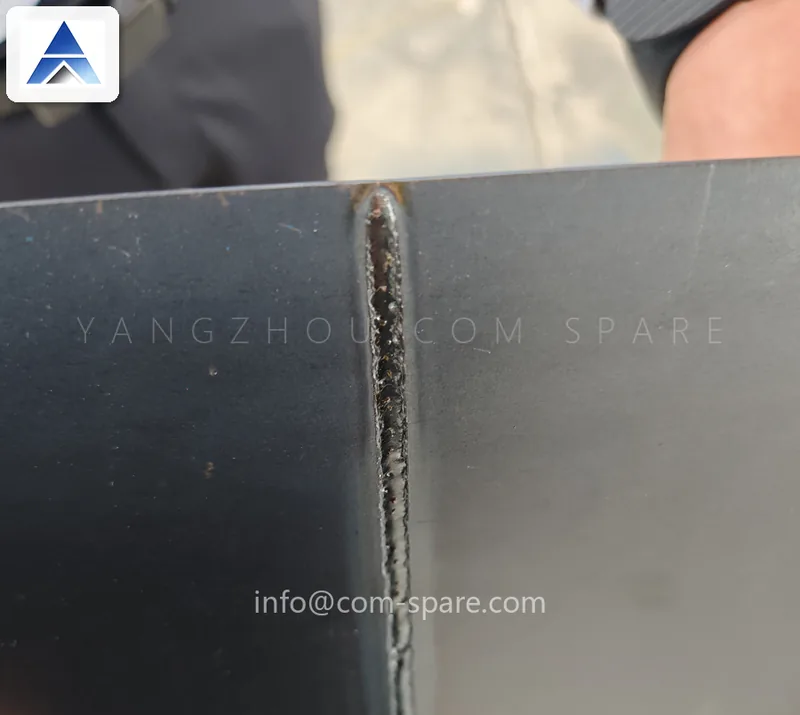
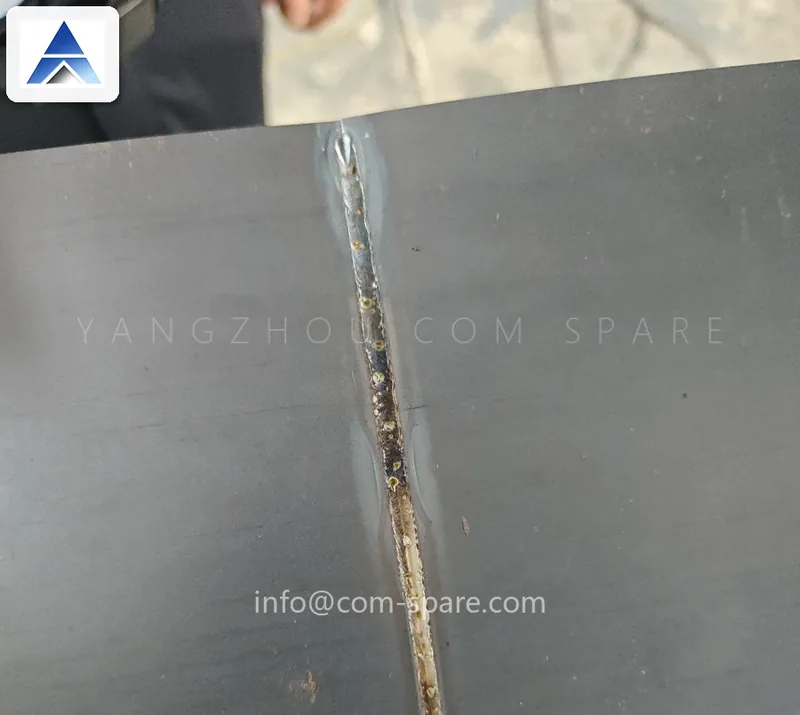
- Upset. A final forging stroke squeezes out the softened metal and the remaining oxide, leaving a joint with a small external and internal bead.
- Trim. The beads are planed or milled flush. On thin strip this step matters more than the weld itself, because an untrimmed bead will mark the forming rolls.
- Release. The joint runs out into the accumulator or straight into the mill.
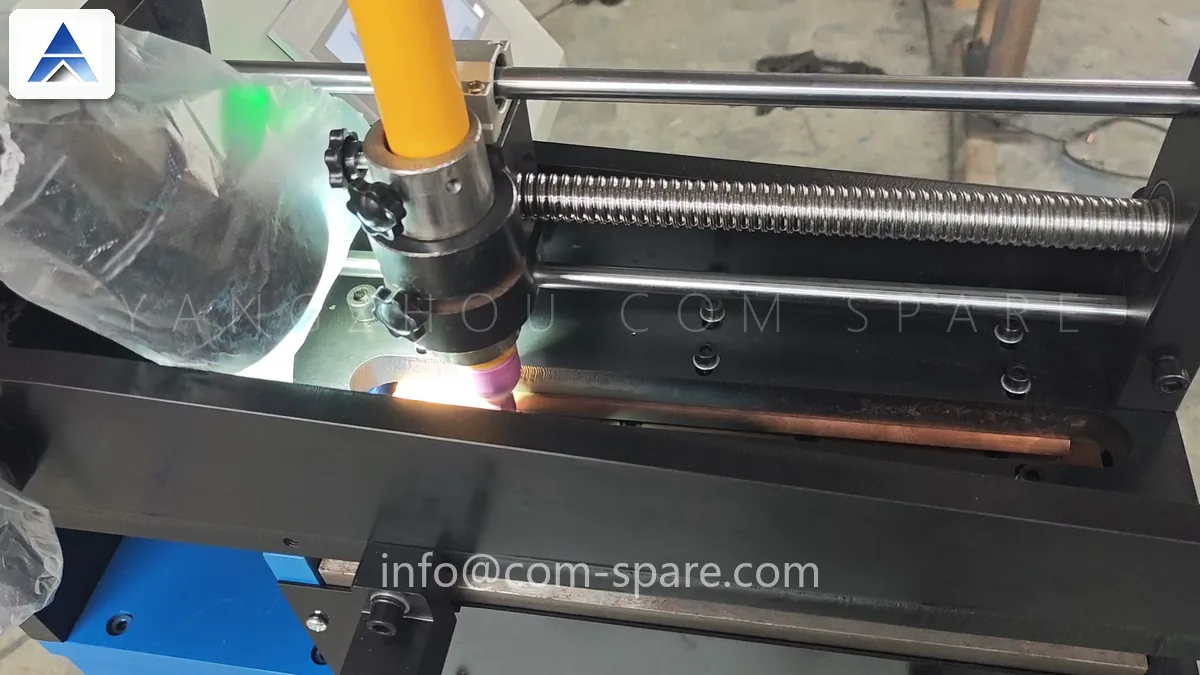
Why the join is invisible in the finished tube
A good coil joint survives nine stands of forming, a weld station, sizing and a saw. It does that because the joint is made to the same thickness as the parent strip, with the bead trimmed flush on both faces. What fails a joint later is almost always one of four things:
| Defect | What you see on the tube | Root cause |
|---|---|---|
| Misalignment | A step or a short length of ovality after the joint | Strip not centred or not square |
| Cold joint | A transverse mark; the tube splits when expanded | Insufficient upset, or dirty strip ends |
| Over-upset | Thickened joint that will not pass the sizing stand | Too much forging force on thin strip |
| Untrimmed bead | Roll marks, or a scratch along the tube for metres | Trim tool worn or set too shallow |
Two of those four are mechanical setup, not welding parameters. When a mill reports “the welder is making bad joints”, the first checks are strip squareness, alignment and trim depth — not the current setting.
Inside and outside: the two beads
Flash butt welding produces a bead on both faces of the strip. The outside bead runs through the forming rolls and can mark them; the inside bead becomes the internal weld bead of the tube and is removed later by the scarfing tool system. Trimming at the welder is therefore not cosmetic — it protects the tooling.
How the welder and the accumulator work together
The welder makes the joint; the accumulator buys the time. During a coil change the mill keeps running on stored strip while the welder shears, welds and trims. The storage time needed is the sum of the handling time (stop, cut, retract, load new coil) plus the weld and trim cycle plus a margin for the operator.
Get this wrong in either direction and the line pays: an accumulator that is too small forces the mill to slow down or stop anyway, and one that is too large adds strip length, floor space and threading time for no gain. Sizing is covered in Accumulator sizing: what a coil change really costs.
Specifying a welder for an existing mill
| What we need | Why it decides the model |
|---|---|
| Strip width range | Sets the shear blade length and clamp opening |
| Strip thickness range | Sets weld power and upset force |
| Material | Mild steel, galvanised, stainless and HSLA weld differently |
| Line speed | Sets the accumulator size the welder must support |
| Existing mill layout | Decides whether the welder sits in line or on a loop car |
We quote the welder as a station: shear, welder, trim and the control that ties it to your accumulator. If you already have the shear and only need the weld head, that is also a quote.
Related products
Tube mill spare parts · Scarfing tool system · ERW tube mill line · Autopacking machine.
More on the joint itself: Shear and end welder: the coil joint that decides your weld seam.