
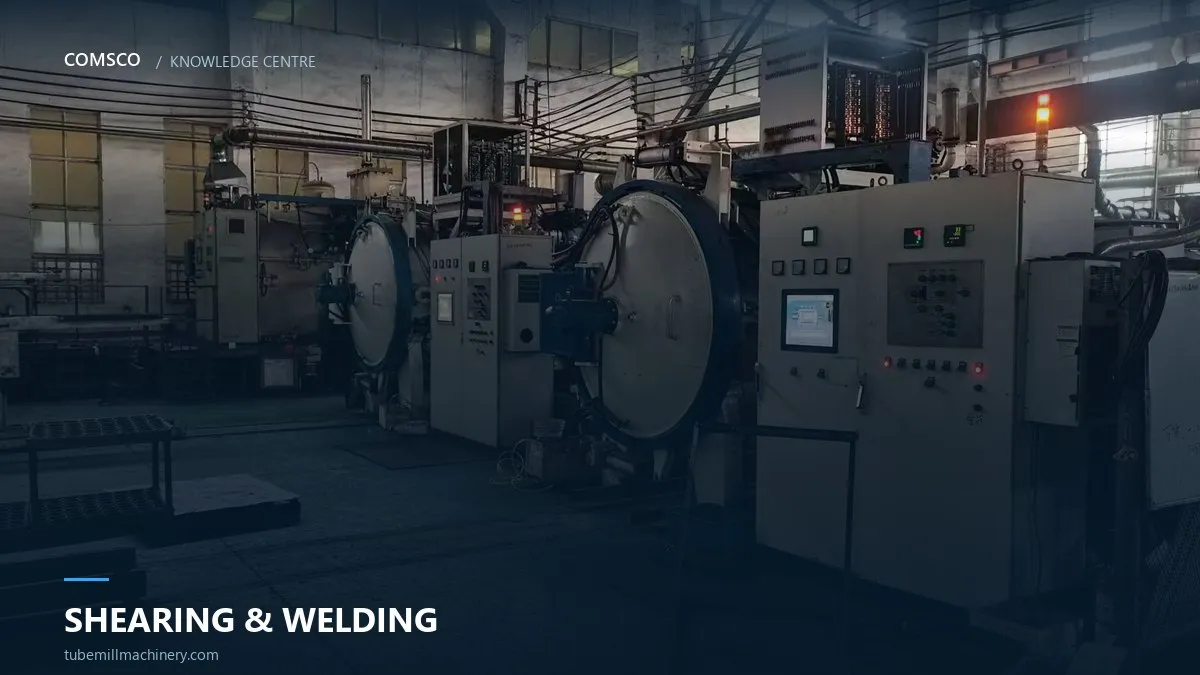
There is a rule in tube mill troubleshooting that saves a lot of time: if a defect repeats at a fixed interval, find out what that interval equals. If it matches the coil length, the problem was created at the shear and end welder, several stations away and possibly twenty minutes earlier.
What the machine actually does
When a coil runs out, the line would normally have to stop. The shear and end welder prevents that. It clamps the tail of the running strip and the head of the new coil, shears both ends square, aligns them, and welds them together — then the joint runs through the accumulator and into the mill.
The sequence matters more than the machine’s headline capability:
- Decelerate and stop the entry strip while the accumulator feeds the mill.
- Clamp and centre both strip ends on the machine centreline.
- Shear both ends square in one pass, removing the deformed and often dirty edge.
- Align the two ends at the same width and thickness, without a step.
- Weld along the joint, with full penetration across the width.
- Release, strip the weld bead if needed, and restart the entry.
If any of those six steps is compromised, the joint becomes a local disturbance that every later station amplifies.
How a bad joint shows up downstream
| Joint fault | What it looks like later |
|---|---|
| Out-of-square shear | Weld gap varies across the strip; a short run of heavy bead or a notch |
| Step at the strip edge | Edge wave or a kink as the step passes the fin passes |
| Misalignment (width offset) | Tube spirals briefly; weld wanders to one side |
| Incomplete weld penetration | Joint opens under expansion or during testing |
| Excess weld bead left on | Roll mark on one face, repeating at coil interval |
| Long cycle time | Mill slows at every coil change; first metres after restart differ in temperature |
Notice that none of these look like an entry section problem at the time. The operator sees a weld defect at the welder and adjusts welding power, which makes the steady-state weld worse without fixing the joint.
The four things to check
1. Shear blade condition
A dull or chipped shear blade tears the strip instead of cutting it. The torn edge has a burr and a work-hardened lip that does not weld cleanly. Blades are consumables and should be inspected on a schedule, not when a defect appears.
2. Alignment after shearing
The two strip ends must meet with the same width and thickness. A thickness step as small as 0.1 mm creates a bump that the fin passes cannot absorb, and that bump appears as a mark on the tube. Check the clamps and the centring devices, and check them again after any strip width change.
3. Weld parameters matched to strip
The joint weld is usually made by butt welding, sometimes with a filler or a TIG pass depending on the machine. Parameters that suit 2 mm mild steel do not suit 4 mm high-strength strip. If the mill runs several products, the welder needs a recipe per product, not one setting that is “close enough”.
4. Cycle time
The accumulator can only cover so many seconds. If the shear and weld cycle takes longer than the stored strip lasts, the mill slows or stops — and a stopped mill produces a length of tube with different thermal history. Cycle time is a production number, but it is also a quality number.
Accumulator interaction
The welder and the accumulator are a pair. A fast welder with a small accumulator still stops the mill; a large accumulator with a slow welder wastes strip storage. Size them together: the accumulator must store at least the strip consumed during one complete coil-change cycle, plus a margin for operator reaction.
We cover the sizing calculation on the roll tooling side of the line in our accumulator article, and the machine itself is described on the shearing and welding machine page.
Maintenance schedule that prevents most joint defects
- Daily: check strip path, clamps and air/hydraulic pressure.
- Weekly: inspect shear blade edges; check centring devices.
- Monthly: verify joint alignment with a straight edge and feeler gauge; check weld current against the recipe.
- Per coil batch: record strip width and thickness so a joint problem can be traced to material.
A shear and end welder is a simple machine doing a precise job. Most of its failures are maintenance failures, and most of them are visible before they become scrap.
Frequently asked questions
What does a shear and end welder do in a tube mill?
It shears the tail of the running coil and the head of the next coil square, aligns them and welds them together so the mill can keep running through a coil change. It is used together with a strip accumulator.
Why do weld defects repeat at regular intervals?
A repeating interval usually equals the coil length, which points to the strip joint made at the shear and end welder. Out-of-square shear, a thickness step or incomplete joint penetration all travel downstream and appear as a short defect run.
Does every tube mill need a shear and end welder?
Not every mill. Low-speed lines with short coils can stop for a coil change, but each stop costs a length of tube with a different thermal history. For continuous production, the welder plus accumulator is what makes the process continuous.
Keep reading
ERW Weld Seam Defects: A Diagnostic Order That Saves Time
A tube mill with a weld problem usually gets adjusted in the order the symptoms appear, and the symptoms appear…
Strip Edge Quality Before the Mill: Slitting, Burr and Weld Defects
Half the weld defects blamed on the welder are decided before the strip reaches the first stand. Edge burr, camber…
Accumulator Sizing: How Many Seconds of Strip Your Line Really Needs
An undersized accumulator turns every coil change into a mill stop. Here is the calculation, the three accumulator types, and…
Related Products
Machines that do the job described above — quoted station by station.
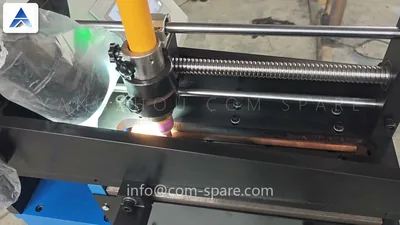 ProductShearing & Welding MachineA coil joint that survives every forming stand.View specifications →
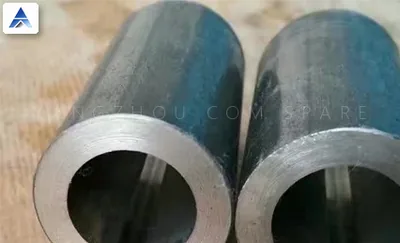 ProductTube Mill Scarfing Tool SystemInternal and external bead removed flush.View specifications →
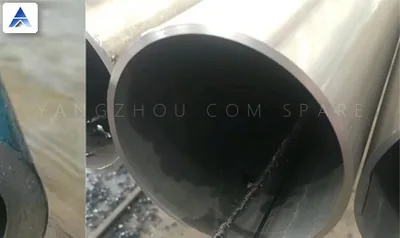 ProductTube Mill Spare PartsImpeders, knives, blades and guide rolls.View specifications →
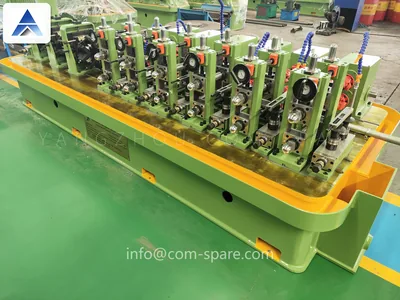 ProductAutopacking MachineCount, stack and strap finished tubes.View specifications →
Need this checked on your own mill?
Send tube OD, wall thickness and the symptom. We reply within one working day.