
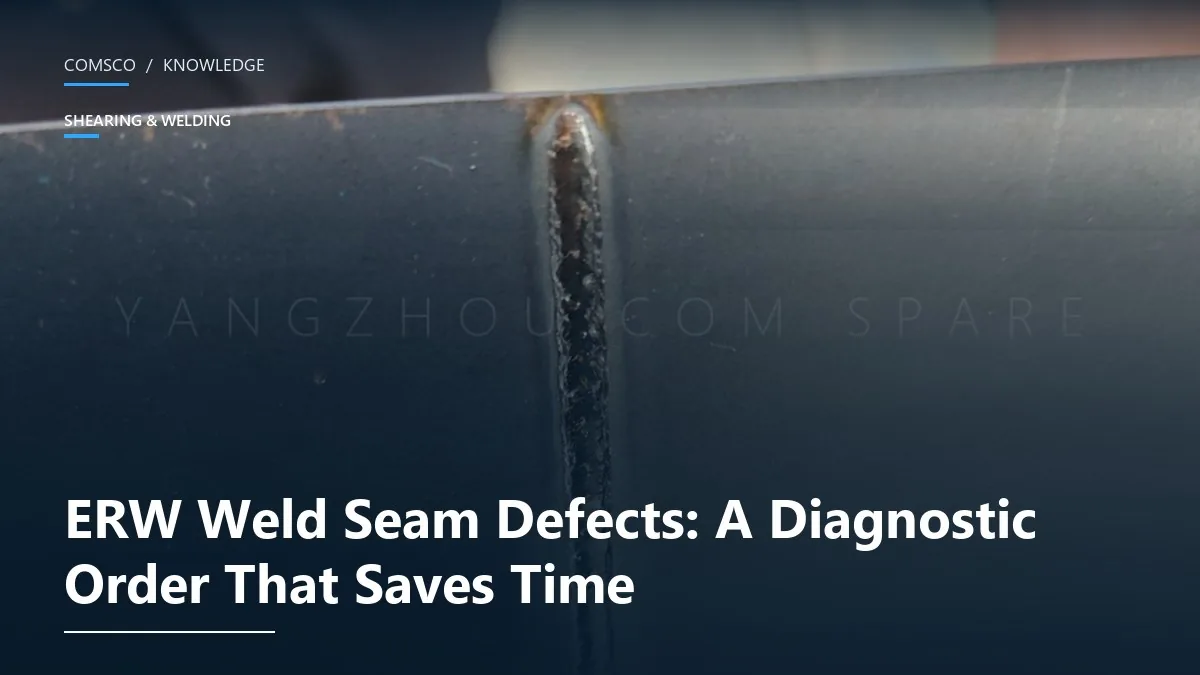
A tube mill with a weld problem usually gets adjusted in the order the symptoms appear, and the symptoms appear at the welder. So the power goes up, the speed comes down, the squeeze is changed, and an hour later the seam is still defective and now nobody knows which change did what.
There is a better order — not because it is faster to execute, but because each step either eliminates a cause or points at one. The principle is to start with the cheapest thing to check and the thing furthest upstream, because a fault upstream will imitate every fault downstream.
The five defect families
| What you see | Most likely family | Often mistaken for |
|---|---|---|
| Open seam, or seam that peels on flatten test | Lack of fusion | Low power |
| Heavy bead, burnt edge, hole in the seam | Excess heat | Too much squeeze |
| Seam wanders to one side of the tube | Forming / alignment | Coil camber |
| Periodic weak spot, once per coil or per shift | Coil joint or impeder drift | Random power fluctuation |
| Seam fine but tube splits when expanded | Heat-affected zone too wide | “Bad steel” |
Four of those five are decided upstream of the power setting. That is the reason for the order below.
Step 1: cut a tube open and look at the section
Before any adjustment, cut a sample lengthwise through the seam and look at the weld cross-section. You are looking for three things: whether the wall thickness is continuous through the seam, whether the weld is centred in the wall, and whether the two edges are aligned.
- A weld that sits visibly to one side of the wall centre is a forming or alignment problem, and no power setting will move it.
- A seam with a step — one edge sitting proud of the other — is a fin pass or strip alignment problem.
- A seam that is continuous but narrow, with a dark line down the middle, is lack of fusion and may genuinely be heat.
This takes ten minutes and eliminates most of the wrong turns. It is the single most useful check on the list.
Step 2: strip edge condition
Bad edges produce welds that look exactly like power problems. Slitting burr, camber, edge hardening or a width that runs wide all show up as a seam that will not close cleanly.
| Check | How | If it fails |
|---|---|---|
| Burr height | Finger test on both coil edges; visual at 5× | Complain to the slitter, not the welder |
| Camber | Straight edge along 2 m of strip on the uncoiler | Seam will wander; correct by coil selection |
| Width consistency | Caliper at head, middle and tail | Weld gap varies through the coil |
| Edge cracks | Visual at the coil end | Seam fails on expansion even when it looks welded |
More on this in Strip edge quality before the mill.
Step 3: the V and the fin passes
Look at the strip as it enters the weld rolls. The two edges should form a consistent V, meeting at the weld point, with the apex at the right place relative to the impeder.
- V too open — heat spreads into the strip faces; the seam looks welded but the heat-affected zone is wide and the tube may split later.
- V too closed — edges touch before they are hot; cold joint with a heavy outside bead.
- V inconsistent along the tube — a fin pass is loose or a bearing is failing. This shows as a seam that is good for a metre and then poor.
Step 4: impeder
Position, fit and cooling. An impeder that has drifted back from the weld point, or whose core has cracked, forces current around the tube instead of through the edges. The operator sees a cold seam and raises power, which widens the heat-affected zone without fixing the fusion.
If the tube body is hot a metre behind the weld while the seam is cold, the impeder or the coupling is the problem, not the power.
Step 5: coupling and contact
On a contact welder, look at the contact shoes: wear, alignment, and distance to the weld point. On an induction welder, look at the coil: position, concentricity, and any contact with the tube.
A mill that suddenly needs more power than it did last month has a coupling problem. Ask what changed — a new contact batch, a coil that was moved for maintenance, a different strip supplier — before changing any setting.
Step 6: squeeze
Set the squeeze so the edges meet with light contact and the bead forms evenly on both faces. Too little squeeze gives a seam that passes a visual check and fails a flatten test; too much gives a heavy bead that loads the scarfing tool and can mark the sizing rolls.
Step 7: power and speed, together
Only now touch the power. And change speed and power as a pair, not one at a time, because the weld needs a heat input per unit length, not a power level. If you raise speed by 10% and leave power alone, you have cut the heat input by about 9%.
Record both numbers every time you change them. Within a week you will have the relationship for your mill, and the next defect will take minutes instead of an hour.
A record that pays for itself
| Record | Why |
|---|---|
| Coil number and supplier per run | Separates strip faults from machine faults |
| Line speed and power at each setting change | Builds the heat-input relationship for your mill |
| Defect type and where it appeared (start, middle, end of coil) | Position in the coil is a strong clue |
| Impeder hours and replacement date | Impeder drift is invisible until it is recorded |
| Scarfing knife hours | Explains bead complaints that are actually tooling wear |
None of this needs software. A notebook on the desk by the welder, filled in honestly, will outperform a database nobody updates.
Related reading: The coil joint that decides your weld seam and HF weld power and coolant for thin wall.
Keep reading
Strip Edge Quality Before the Mill: Slitting, Burr and Weld Defects
Half the weld defects blamed on the welder are decided before the strip reaches the first stand. Edge burr, camber…
Accumulator Sizing: How Many Seconds of Strip Your Line Really Needs
An undersized accumulator turns every coil change into a mill stop. Here is the calculation, the three accumulator types, and…
Shear & End Welder: The Coil Joint That Decides Your Weld Seam
The joint made at the entry section passes through every forming stand and arrives at the weld point. If defects…
Related Products
Machines that do the job described above — quoted station by station.
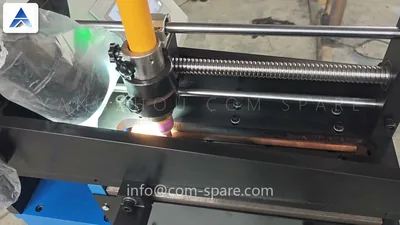 ProductShearing & Welding MachineA coil joint that survives every forming stand.View specifications →
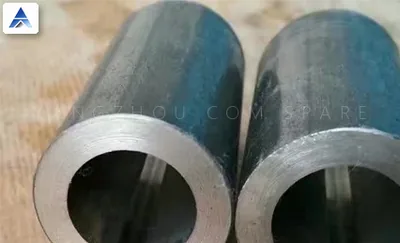 ProductTube Mill Scarfing Tool SystemInternal and external bead removed flush.View specifications →
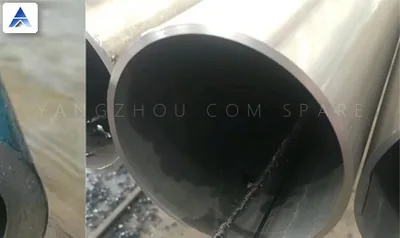 ProductTube Mill Spare PartsImpeders, knives, blades and guide rolls.View specifications →
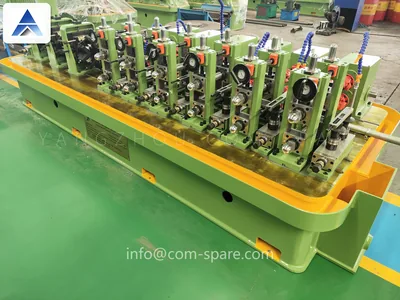 ProductAutopacking MachineCount, stack and strap finished tubes.View specifications →
Need this checked on your own mill?
Send tube OD, wall thickness and the symptom. We reply within one working day.